Vision Board Techniques for Visual Learners
If you’re someone who remembers faces better than names, loves a good colour-coded planner, or gets lost in Pinterest rabbit holes, you’re likely a visual learner. That means you don’t just like looking at things—you learn and grow through what you see. So when it comes to planning your goals and shaping your dreams, a vision board isn’t just a creative outlet. It’s your superpower. Welcome to the world of visual learner planning.
This guide is packed with ideas, techniques, and a bit of inspiration to help you create a sensory vision board that doesn’t just look nice on your wall, but genuinely helps you think, feel, and act in alignment with your goals.
Why Vision Boards Work So Well for Visual Learners
Visual learners process and retain information best through images, diagrams, colour, and layout. While others may prefer spreadsheets or verbal affirmations, you thrive when you see your ideas come to life.
A vision board turns intangible hopes into visible, tangible cues. Every glance becomes a gentle reminder: “Hey, remember this dream? You’re working toward it.”
And when designed intentionally, your board becomes more than a tool—it becomes an immersive experience. A map for your mind. A visual hug from your future self.
Getting Started: Know Your Visual Style
Before you start printing or pinning, pause.
Ask yourself:
- Do I like symmetry or creative chaos?
- Do bright colours energise me, or do soft tones calm me?
- Do I prefer digital boards I can carry everywhere, or tactile, physical layouts?
Understanding your style helps create a board that feels right. This is about building a board for your brain, not just for aesthetics.
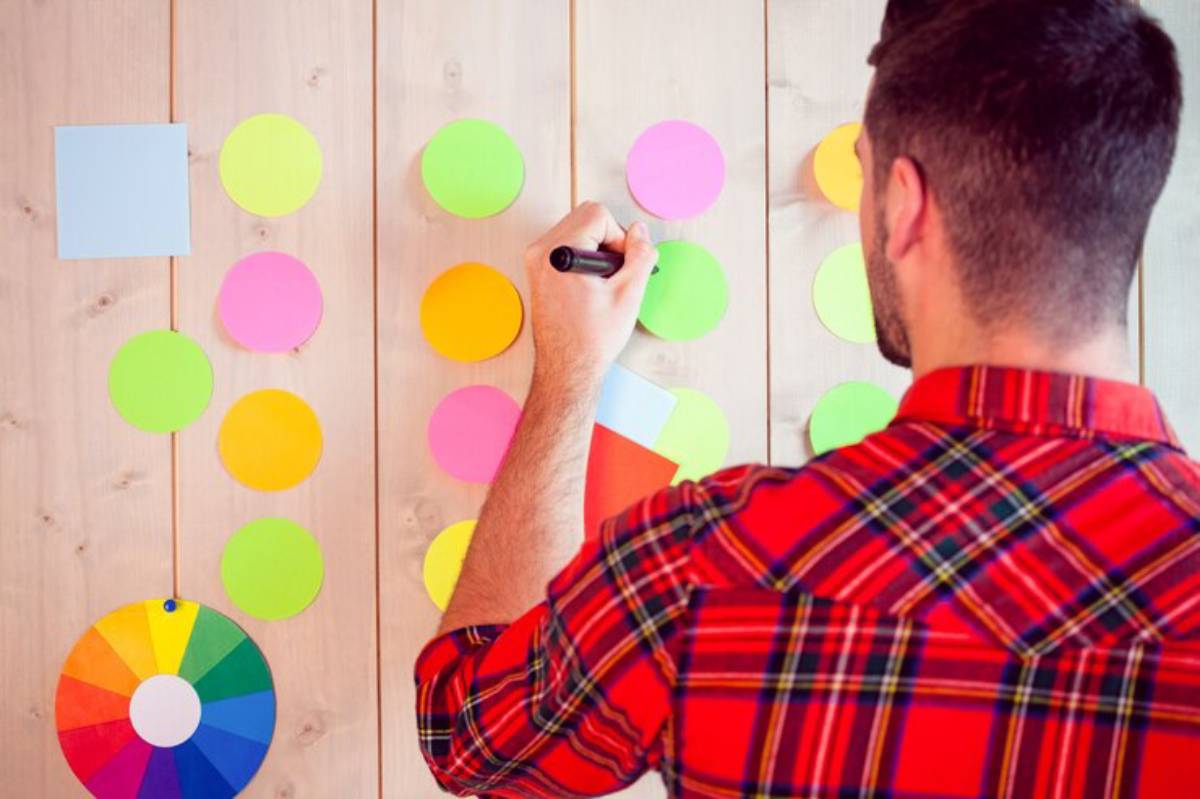
Technique 1: Colour-Code Your Goals

This is one of the simplest ways to organise a board for visual clarity.
Choose a colour for each life area:
- Blue: Career
- Green: Health
- Pink: Relationships
- Yellow: Creativity
- Purple: Spirituality or mindset
Then match images, borders, or even small colored stickers to their theme. Your mind will start linking colour to category—a subtle but powerful organisation trick.
Technique 2: Use Sensory Goal Images
For visual learners, the more sensory the image, the more impactful it is. Don’t just choose stock photos. Choose photos that evoke feeling.
Instead of:
- A vague image of a dollar sign for abundance
Try:
- A close-up of your dream coffee mug in a sunny home office
- A snapshot of someone joyfully reviewing a bank statement
These goal images work better because they let your brain experience the goal. You’re not just “seeing success.” You’re feeling it in context.
Technique 3: Create a Visual Hierarchy
Not all goals have equal weight. Let your board reflect that.
- Put your main focus front and centre
- Use larger images for high-priority dreams
- Tuck smaller milestones around the edges
This isn’t just visually satisfying—it subconsciously reminds you where to direct the most energy.
Want help laying out your goals in the most effective structure? Check out Best Vision Board Layouts for Maximum Clarity to explore more strategies.
Technique 4: Layer With Texture and Depth
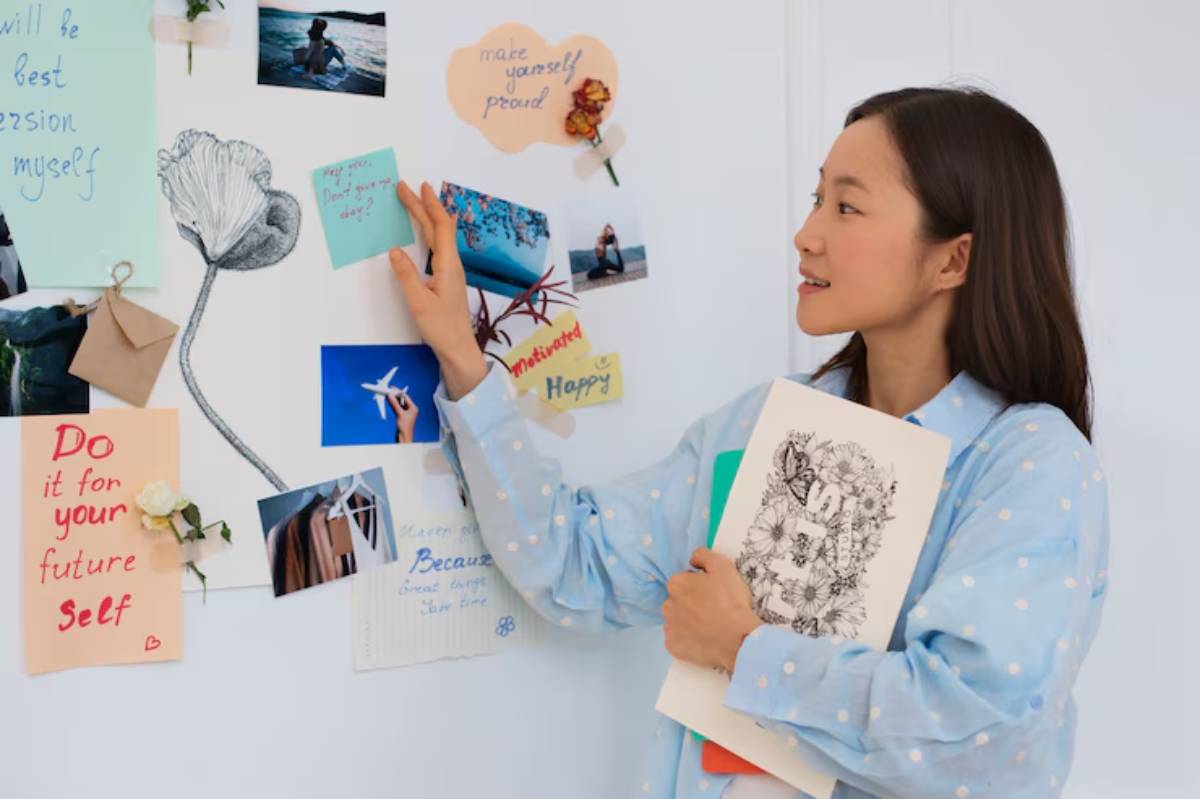
If you’re making a physical board, give it dimensions. Add fabric swatches, textured paper, dried flowers, or anything that feels tactile.
This turns it into a sensory vision board—something your body can interact with, not just observe. Touch is a sneaky tool that reinforces memory, especially for visual-spatial learners.
Even in a digital board, you can mimic this by using layering, shadow effects, or design tools that create depth.
Technique 5: Build a Themed Mini-Board
Instead of one big board with everything, create multiple smaller boards, each themed by goal.
For example:
- A “Career Growth” board for freelancing, promotions, or job shifts
- A “Creative Energy” board for writing, music, or art
- A “Self-Worth & Mindset” board focused on confidence and clarity
Mini-boards reduce overwhelm and allow hyper-focus. You can rotate them seasonally or stack them into a vision journal.
Technique 6: Add Motion and Light
Visual stimulation isn’t just about still images. Add a sparkle element. Use light-catching foil paper.
If it’s a digital board, try:
- Animated GIFs
- Slideshows
- Video snippets
Anything that creates movement naturally draws the eye—and keeps your mind engaged.
Technique 7: Map Goals Chronologically
A powerful visual learning strategy is to turn your vision board into a timeline.
Start on the left with short-term intentions (1–3 months) and move right for medium and long-term dreams (6 months to 1+ year).
This technique helps you:
- Prioritise steps
- Break big dreams into stages
- Watch your future unfold with clarity
It also builds trust in the process. You can literally see where you’re going.
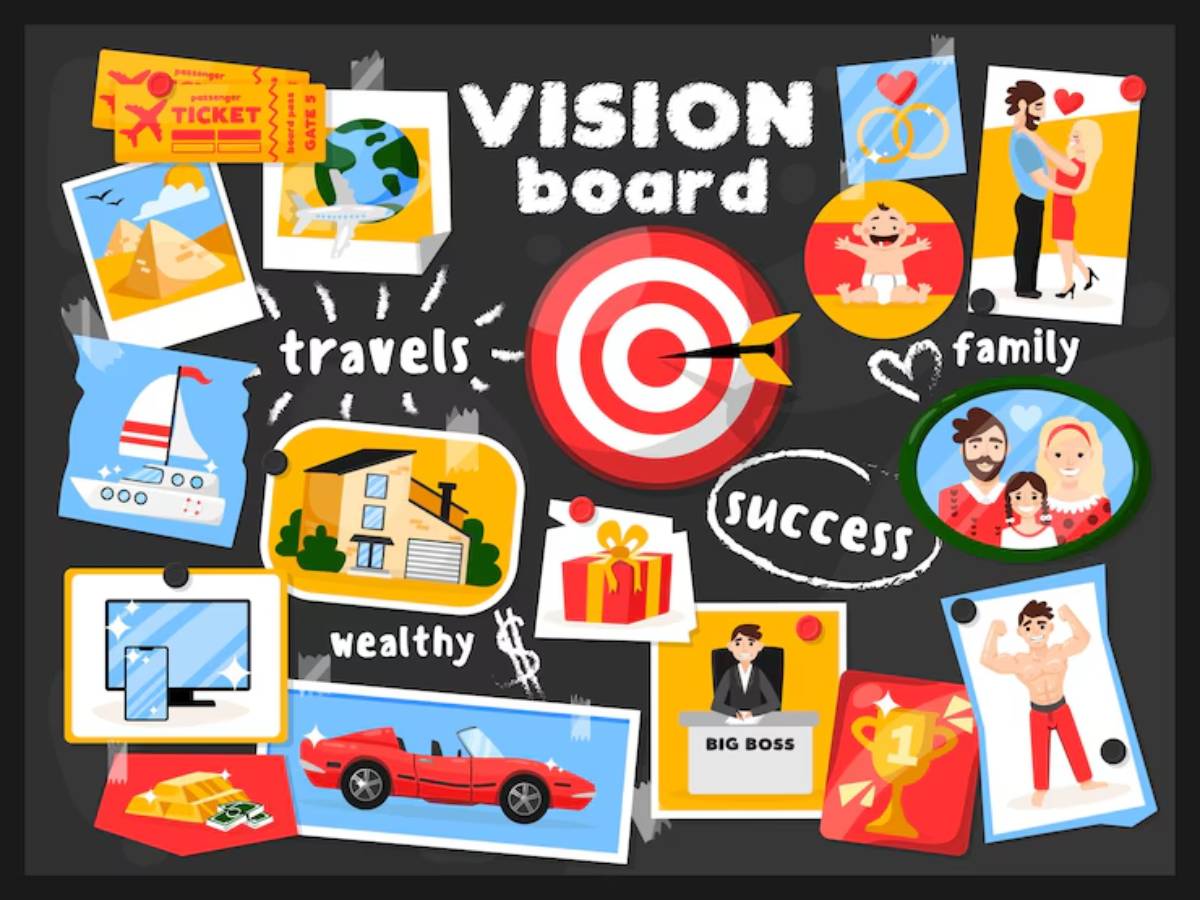
Technique 8: Use Symbols and Icons
Sometimes a single image carries more weight than a whole sentence.
- A feather for lightness
- A bridge for transition
- A sun for new beginnings
- A compass for inner guidance
These symbols act as visual shorthand for deeper feelings. When your eyes catch them, your brain gets the memo without needing words.
Use 2–3 recurring symbols across your board to create cohesion.
Technique 9: Design for Your Environment
Where will your board live?
- If it’s going by your desk, maybe a bold layout keeps it energising.
- If it’s going near your bed, soft tones and calming themes might suit better.
A vision board works best when it complements your space—and doesn’t compete with it. Choose design elements that soothe or inspire based on placement.
Technique 10: Match Images With Micro-Actions
This is where visuals meet progress.
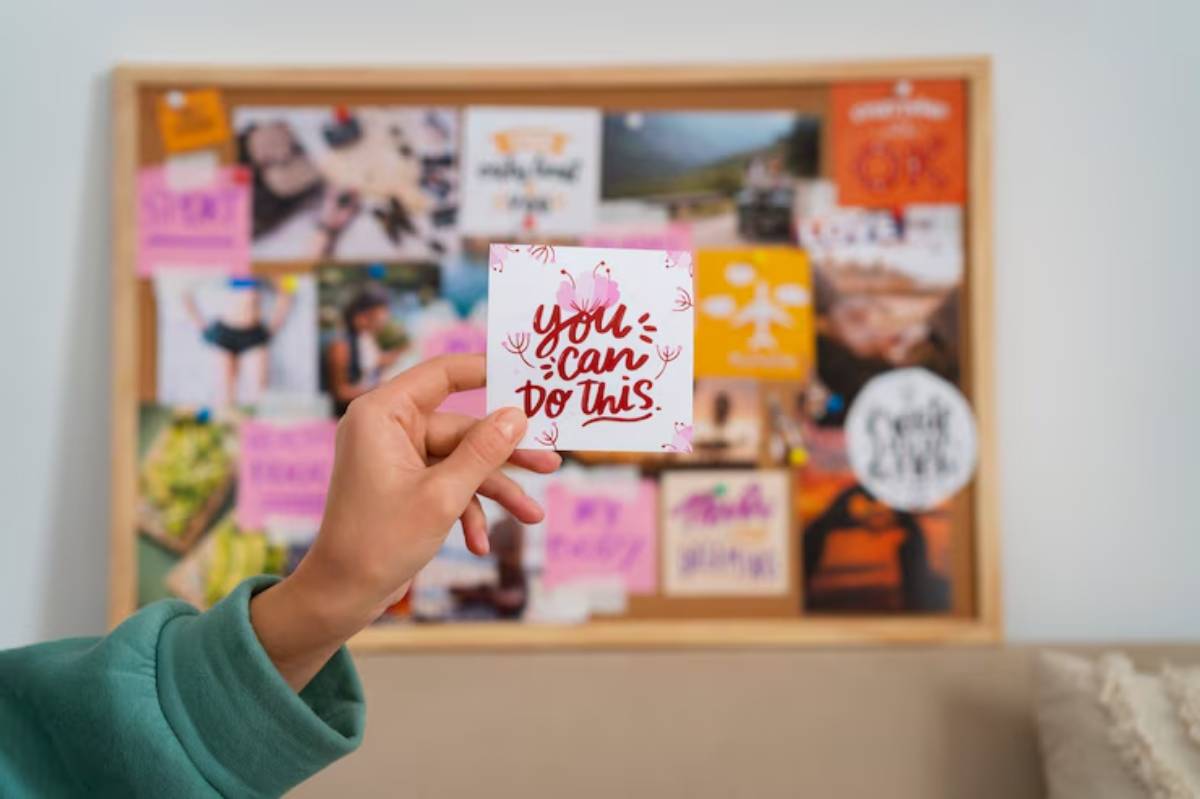
For each main image, write a small sticky note nearby with one actionable step:
- Dream: Public speaking on stage
- Action: “Join a local Toastmasters group”
This helps bridge dreaming and doing. You can even remove the sticky when complete, like a tiny celebration.
Need help identifying which dreams belong where? Breaking Down Life Areas for Vision Board Planning is a useful read.
Bonus Tips for Visual Learners
- Use visuals as cues in other parts of life too: Post-it affirmations, mood boards, illustrated planners
- Keep your board evolving: Refresh quarterly with new layers
- Create a digital wallpaper version for your phone or laptop
- Start your day with a visual check-in: 2 minutes with your board beats 20 minutes of unfocused scrolling
When to Revisit Your Board

Your dreams will shift. Your energy will shift. And as a visual learner, you’ll feel when your board no longer inspires.
Update when:
- Images start to feel flat or stale
- Goals are achieved (yay!)
- Your focus for the season changes
You don’t need to rebuild it all. Just refresh the visuals that no longer light you up.
Let Your Eyes Lead the Way
For visual learners, the path to achievement isn’t paved with text-heavy to-do lists or abstract thinking. It’s paved with images, colour, layout, and emotion.
So build a board that feels like you. One that sparks your creative brain and gets your heart beating with possibility. Let your eyes linger. Let your imagination take over. Let every glance forward be a reminder of the future that’s already forming.
Because when you can see it, you start to believe it. And when you believe it? You start to build it.
One image. One step. One vision at a time.


